Completing contracts in the Zombies mode for Call of Duty: Modern Warfare 3 is key to earning in-game currency to purchase better guns, upgrades, and other tools. One of the contracts is called Outlast, and here is how to complete it.
How to Complete Outlast Contracts in MW3 Zombies
There are two objectives to complete in an Outlast contract: activate the PND and remain in the environment. Accepting the contract will mark where the PND is located, which is in a building near the contract walkie-talkie.


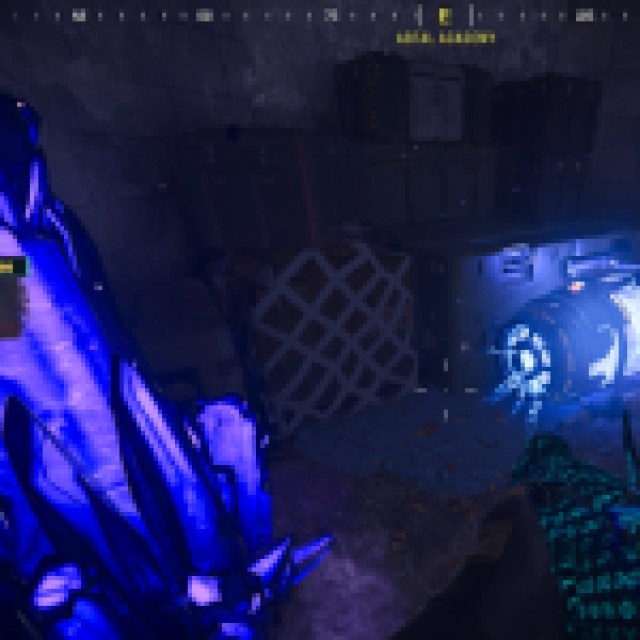
The PND is a glowing bomb-like object that will be surrounded by large crystals that will decorate the entire building. Walk up to it and use the Interact action to begin the second half of the contract.
The other half of the contract will require players to stay within the crystallized environment until the analysis reaches 100 percent. Meanwhile, zombies will pour into the building while the analysis is ongoing.
Doing the contract in lower threat zones will make it easier, but move around and shoot before a horde builds up and makes it harder. Just hold out for the minute or two that the analysis takes, and the contract will be completed once it reaches 100 percent.
How to Find Outlast Contracts in MW3 Zombies


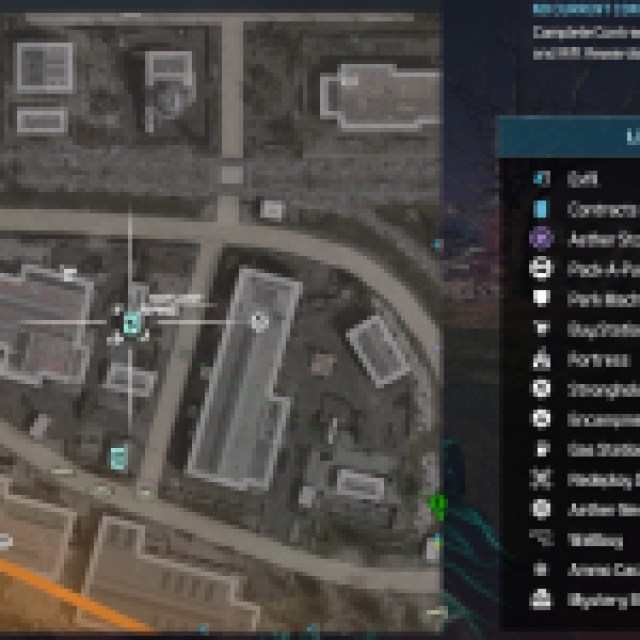
Outlast contracts can be found on the map as light blue walkie-talkie-shaped icons with a picture of a satellite dish on it. Hovering over it will detail it as an Outlast mission and can be pinged on the map to mark in the world. This makes it easier to know which direction to go for the contract.
For more coverage on Call of Duty: Modern Warfare 3 Zombies, please check out our guide on how to complete the Hands Off mission.

