There’s no doubt about it. Cyberpunk and Night City are gorgeous. It’s the grime in the neon lights, it’s the thrum of humanity trying to survive in a world that wants to eat them alive. But what if you could make the game look even better? That’s possible if you happen to be on PC. Here’s how to enable DLSS 3.5 Ray Reconstruction in Cyberpunk 2077.
How to Enable DLSS 3.5 Ray Reconstruction in Cyberpunk 2077
PC players really have it good. If you love gorgeous graphics and don’t mind taking a mild performance hit, then you might want to enable DLSS 3.5 Ray Reconstruction. Which is a setting that’s now available after Cyberpunk 2077’s update to 2.0.
Here’s how to enable DLSS 3.5 Ray Reconstruction in Cyberpunk 2077.
First, you’ll need to have patch 2.0 and DLSS 3.5 Driver installed. Once that’s done:
- From the main menu, select ‘Settings’.
- From settings, tab over to the submenu ‘Graphics’.
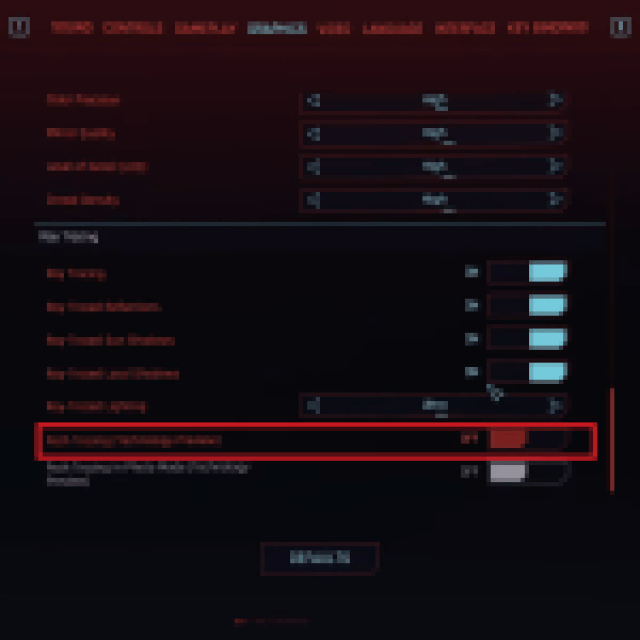
- Scroll to the very bottom where you’ll see ‘Ray Tracing’.
- Enable ‘Path Tracing (Technology Preview)’.


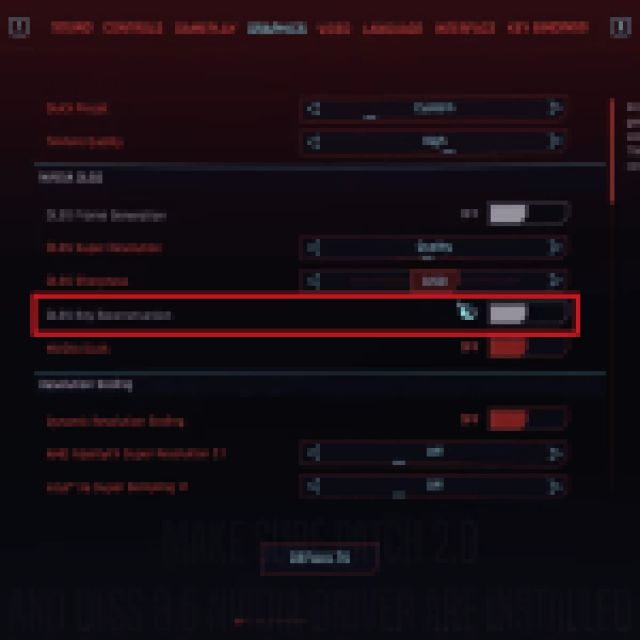
- Scroll back up to NVIDIA DLSS on the same screen.
- You’ll see ‘DLSS Ray Reconstruction’. Enable it.


- Once you’ve enabled both Path Tracing and DLSS Ray Reconstruction, press Apply at the bottom of the screen.
While it might not seem important, DLSS Ray Reconstruction won’t be accessible until you’ve enabled Path Tracing. Once Path Tracing is enabled, DLSS Ray Reconstruction can be toggled on and off.
Enabling Ray Reconstruction lowers VRAM and RAM usage, uses less GPU wattage, and of course increases image quality.
Worth noting is that many players have had their game crash while DLSS 3.5 Ray Reconstruction is toggled on. Likewise, others have noted a hit to frame rate. So, while it might look nice, or at least less flat, it might be worth keeping off.

